Friday, February 10, 2012

What's on our desk today...


- Save the Date postcards for Janelle, Jess & Nicole
- gorgeous turquoise ribbon
- our cute new kitty cat wrist rest from socksmakeover
- an ever-growing to-do list
- AND I managed to drink a cup of tea that was actually HOT! thanks baby Lewis for snoozing long enough :)

What's on your desk today?? 

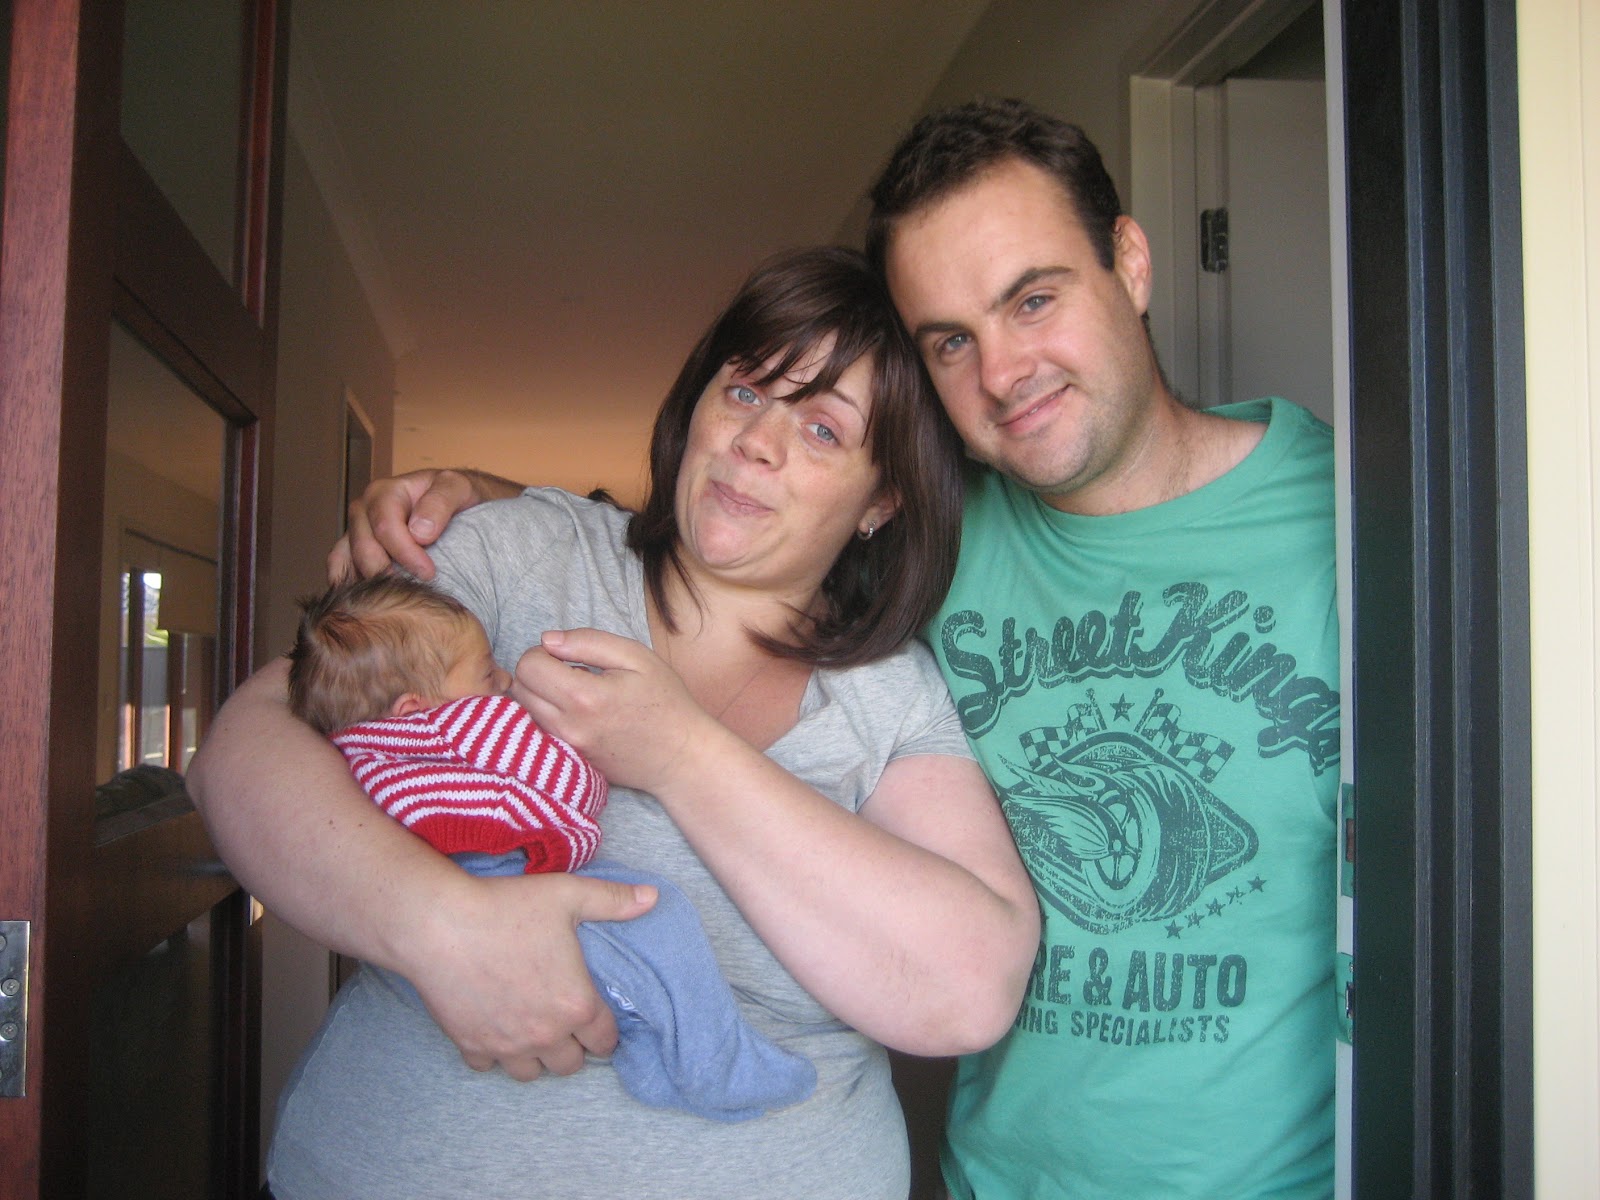
PS: it's my gorgeous husbo's 30th birthday today - Happy Birthday Lloydy! we love you!

Our first day at home as a family of 3 (4 if you count Whiskey the Cat)
~ Samone xo 


Tuesday, February 7, 2012

Valentine freebie download part 2 (& a recipe!)

As promised, here's the second half of our Valentine's Day free printables! This little set, which you can grab over here, has a little card, cupcake flags and a couple swing tags to finish off those little pressies for your lover.


Nothing is sweeter than a gift of home baked goodies... so here's our recipe for easy vanilla sugar cookies; perfect to fill your Valentine's favour bag with! And they are super delicious (I have eaten wayyyy too many during this little photoshoot!!)

Easy vanilla sugar cookies

Ingredients:


6 cups sifted plain flour
1 teaspoon salt
2 cups (450g) softened unsalted butter
2 cups caster sugar (or soft brown sugar for a slight caramel flavour)
2 large eggs
2 teaspoons pure vanilla extract (or 1 teaspoon vanilla bean paste)


Method:
1. In large bowl, sift together flour and salt. Set aside.
2. Use an electric mixer with paddle attachment, cream butter and sugar until light and fluffy. Beat in eggs one at a time until well incorporated.
3. Add flour mixture and mix on low speed until thoroughly combined. Mix in vanilla until well combined.
4. Remove 1/2 of dough from bowl, shape in to a ball and then flatten to a disc about 2" thick. Wrap well in plastic wrap. Repeat with 2nd half of dough.
5. Chill both discs of dough for about 45 minutes to an hour. Dough must be reasonably firm.
6. Remove one disc and remove plastic wrap. Place on top of a lightly floured surface.
7. Roll dough to an even thickness of about 1/4" using a silicone rolling pin. Cut out shapes using selected cutter(s). Remove excess dough ready for re-rolling.
8. Preheat your oven to 180 degrees celsius (160 degrees fan-forced). Place cut out shapes on baking trays lined with baking paper (or silicone baking mats), leaving about 2" clearance.  Place filled trays in freezer for about 15 minutes to chill.
9. Remove from freezer and bake for 10-12 minutes, or until edges are golden brown.

10. Cool cookies on trays for 5 minutes, then gently move cookies onto wire racks to finish cooling.
Cookies may be stored at room temperature in an airtight container for up to 2 weeks.

*We decorated our cookies with tinted royal icing and sprinkled them coloured sanding sugar.  You can also use coloured fondant: simply roll out tinted fondant to 3mm thick and cut out desired shape using the cookie cutter. Stick the fondant to the cookie using a few small dabs of water and carefully smooth the top. A simple and easy way to make gorgeous decorated cookies!

Happy Valentine's Day, we hope you have a sweet day with your special someone!


Friday, February 3, 2012

Valentine freebie download!!


who doesn't love a freebie download?!!

we have created this little printable favour bag for you to download and make to fill with goodies for your lover this Valentine's Day - enjoy!! click on over to here to grab the art file, print on heavy paper or light card (we used a creamy recycled card with a fleck through it), and fold it up following our super-easy instructions. sweet as!

the cute little tag will be available, along with a card and some other designs, next week sometime - so be sure to check back then!!

~ Samone xo


Tuesday, January 31, 2012

Wedding colour palette: soft pink and white


We're currently working on a wedding cake in gorgeous soft pink and white tones for a lovely couple to match their stationery suite we created late last year...  here's a pretty mood board we put together as inspiration. We think these classic tones make for a very romantic setting and we're looking forward to setting it up on the day!

We hope you're having a great start to the week... oh and we'll be sharing a free Valentine's Day treat for you, our awesome readers, very soon so please check back!

Custom stationery suite by Cake Ink.
All other images via Style Me Pretty

Friday, January 27, 2012

meet our crafty friends


I want you to meet one of our crafty friends, Amy and her gorgeous bunting over at Giggleberry Creations.

Amy is one of those crafty peeps that has lots of ideas and can make and do anything. We have had the pleasure of working with her for a few of her parties she has thrown for family, and it's lots of fun hatching new ideas for elements for little and big kids' parties! Amy's rainbow ribbon garland featured in one of our favourite Cake Ink. parties, and I also have one of her beautiful custom-made bunting hanging in Lewis' bedroom. Pop past the Giggleberry blog for a read on all Amy's latest happenings, or check out her shop to pick up some of your own bunting for your next event or to brighten up your home!!


Invites for a 70's ski themed party, and custom designed party printables


*Top photograph by www.hayleyjohnson.com.au

Have a lovely weekend!!
Samone xo

Tuesday, January 24, 2012

Planning a New York wedding

It's not every day we get to plan for one of our own so we're excited to be putting together all the bits and pieces for my wedding in September! We thought we'd share the progress along the way so here's a snapshot of some initial inspiration we're using to create the custom stationery suite for our big day...


So far we're working on postcard-style save the dates, formal invites including wedding map, ceremony & activity information, tabletop stationery and welcome gift bags for each guest. We're also working with some AMAZING local wedding vendors but more on this later!

I can't wait to say 'I do' to my amazing husband-to-be (who we affectionately call The Cake Engineer due to his handyman prowess) and to celebrate with our nearest and dearest in an amazing city! Love you Stu!


Janelle xx

Monday, January 16, 2012

Recent work and some Cake Ink. news!

We've neglected our blog a little lately as we've been super busy, but we're back and ready to start the New Year with the promise of some exciting new projects!

Firstly, we'd love to introduce you to the newest (& cutest) member of the Cake Ink. family; Samone's little boy Lewis!


Lewis was born on November 24th 2011, and was a teeny 6 pound 5, but is growing super fast! We can't wait to teach him to bake cupcakes haha!! but we are enjoying his baby sweetness for now, and he is keeping Samone super busy!

We're also busily working on the details for Janelle's destination wedding later in the year so we'll be sure to share the progress along the way!


In the meantime, some recent Cake Ink. projects:


Chloe's 1st 'ladybird' birthday


A beautiful vintage inspired wedding cake**


Classic rose and lace wedding cake


A bow-tie christening cake


A fun engagement cake


Gorgeous custom wedding and engagement stationery

 **Images from Milk Photography, all other images by Cake Ink.